Mechanical Design
An interactive 3D model of our robot shown above. (Please allow a few moments for the model to load)
We were given Pololu’s Romi robot kit to use as a drivebase for this project. The Romi chassis has many holes and slots for mounting points and came with castors, wheels, motors, encoders, and a power distribution board that uses six AA batteries. We were also given an adapter plate which allows for the Nucleo with attached Shoe of Brian to mount onto the Romi chassis, above the power distribution board.
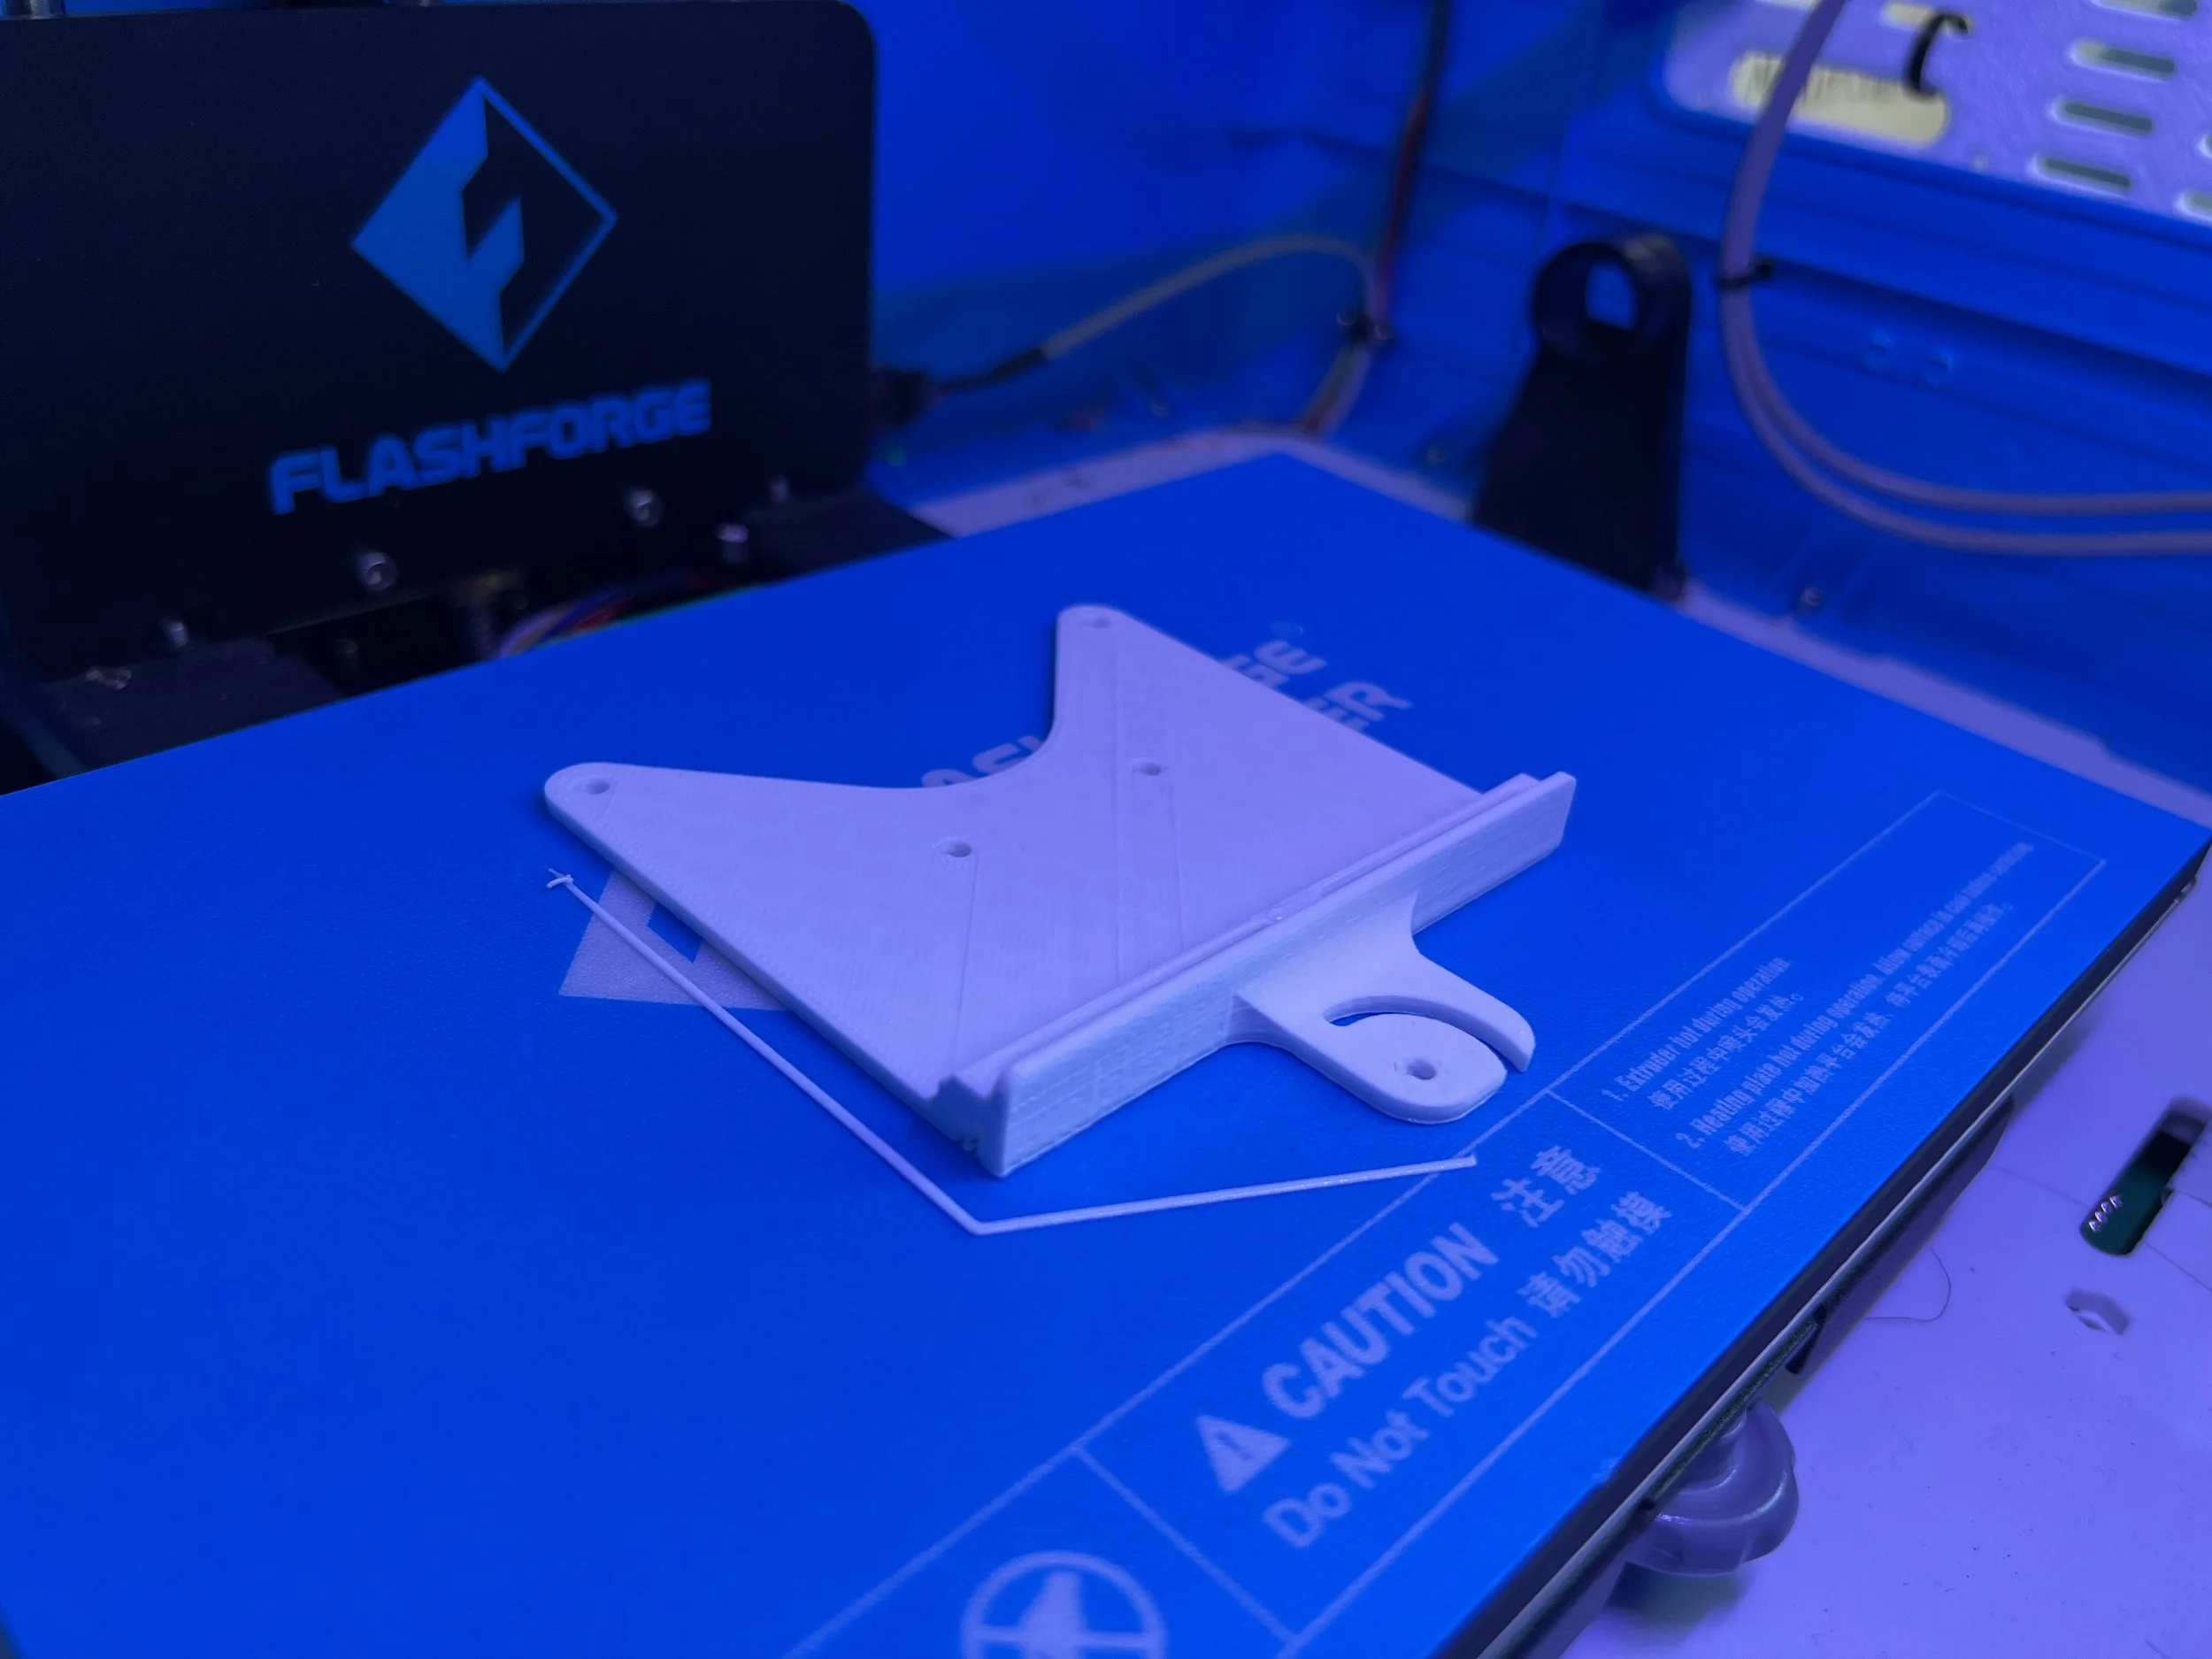
In order to mount our line sensors and bump sensor, we designed and 3D printed one multi-purpose mount. Our mount has slots which allow adjustability of each sensor’s placement. Specifically, each line sensor is mounted with a screw and hex nut in a T-slot which allows side-to-side positioning adjustment. The bump sensor is mounted with two screws, one which is set in place and the other which is allowed to move in a curved slot. We originally just had two standard holes but decided to make one of them into a curved slot. This combination allows the angle of the bump sensor to be adjusted by adjusting the second screw's position within the curved slot.